To test how the book was looking I did many prototypes, checking how the layout looks and find the perfect bind for the book.
This prototype is the first layout and print test I did, bound with a saddle stitch.
I thought the dust jacket was very effective, however I printed it long edge binding instead of short edge, so the design flipped on the other side. This is something I can rectify on upcoming prints.
The layout of the publication was effective, however there were some flaws to be fixed. One is the first page as there was no pages between the front cover and the first page so the dust jacket covers the first page. This should be rectified with a spread between the front cover and first page so that the story can start with no interruptions from the dust jacket. This also should be put in place and the back so the story doesn't get cut off on the last page.


This prototype has the issue of the dust jacket solved with the input of the gradient used for the dust jacket as a spread with a bird on the third page and second-to-last page. Two drawings of birds are featured in the story so I thought this would be nice touch for the start and end. The gradient is effective here as the gradient is on the dust jacket, making them work seemingly together.
This prototype is also a paper stock test. The pages are printed onto cartridge which is thicker than printer paper and takes colour well. This is effective for this purpose as it brings out colour and feels and looks professional. The dust jacket is printed onto Antique White paper which didn't work well as it dulled the colours down.
At this point I also sent Jake a video of this version to show him what I had done so far. The feedback was very positive, so I continued onto testing out different binds


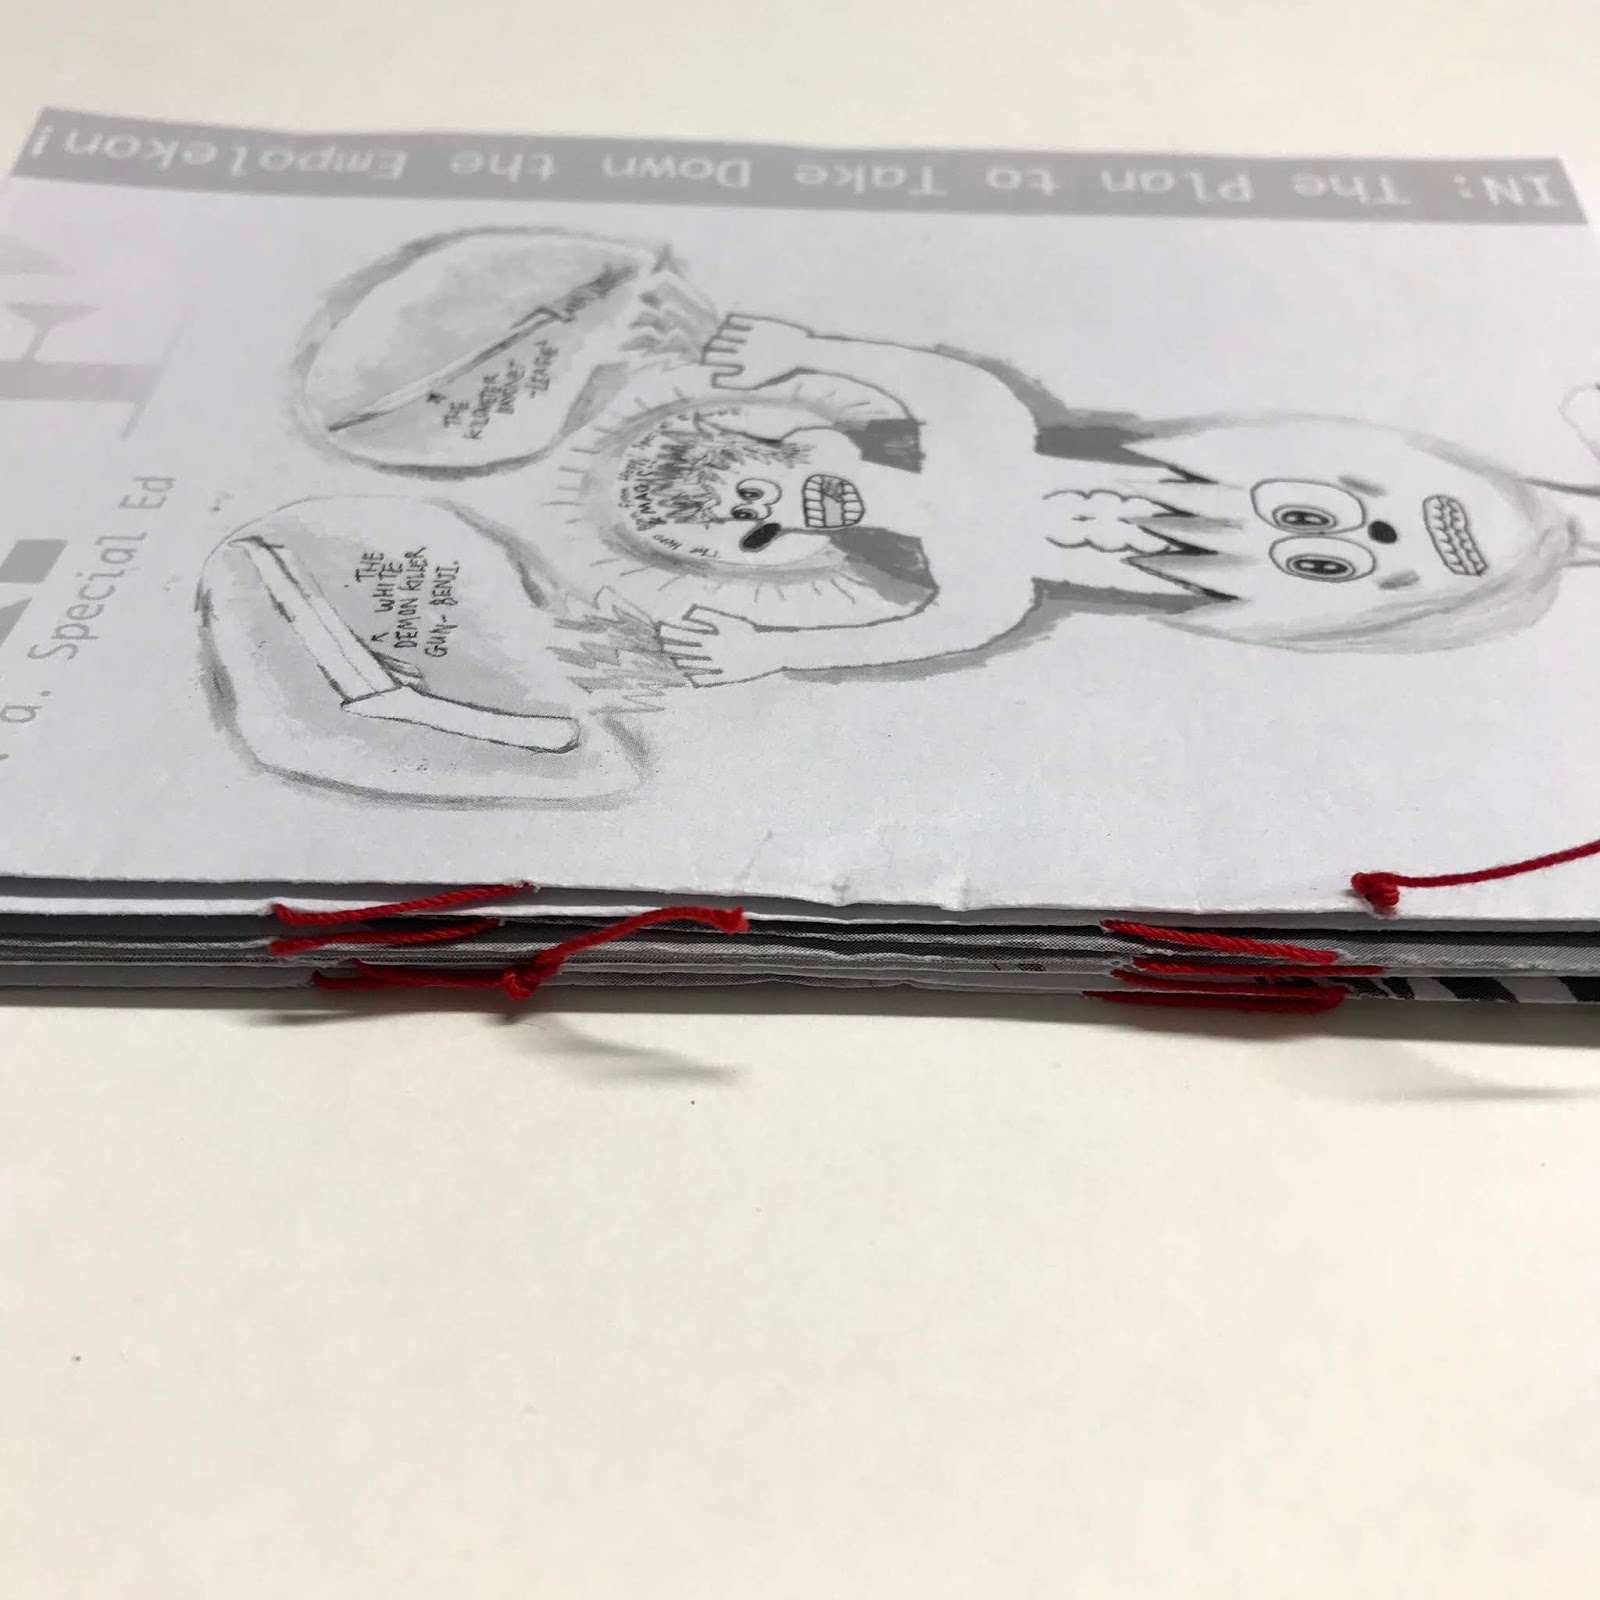
This book is a bind test. The aim of this bind was to create a zig zag stitch along the spine, which came from the appearance of Eds hair in the illustrations. His hair is drawn as zig zags so I wanted to bring this into the design of the book. Unfortunately it wasn't effective as the bind is complicated and the paper was delicate so it was hard to keep it tight. It also wasn't a very clear zig zag, and didn't seem to hold together well.

After improving the layout to work for saddle stitch, I tested it. The outcome is successful however I think something more interesting could be done for the book.


This test is for a perfect bind. Similarly to the saddle stitch, I think it is successful and professional looking, but something more interesting could be done.


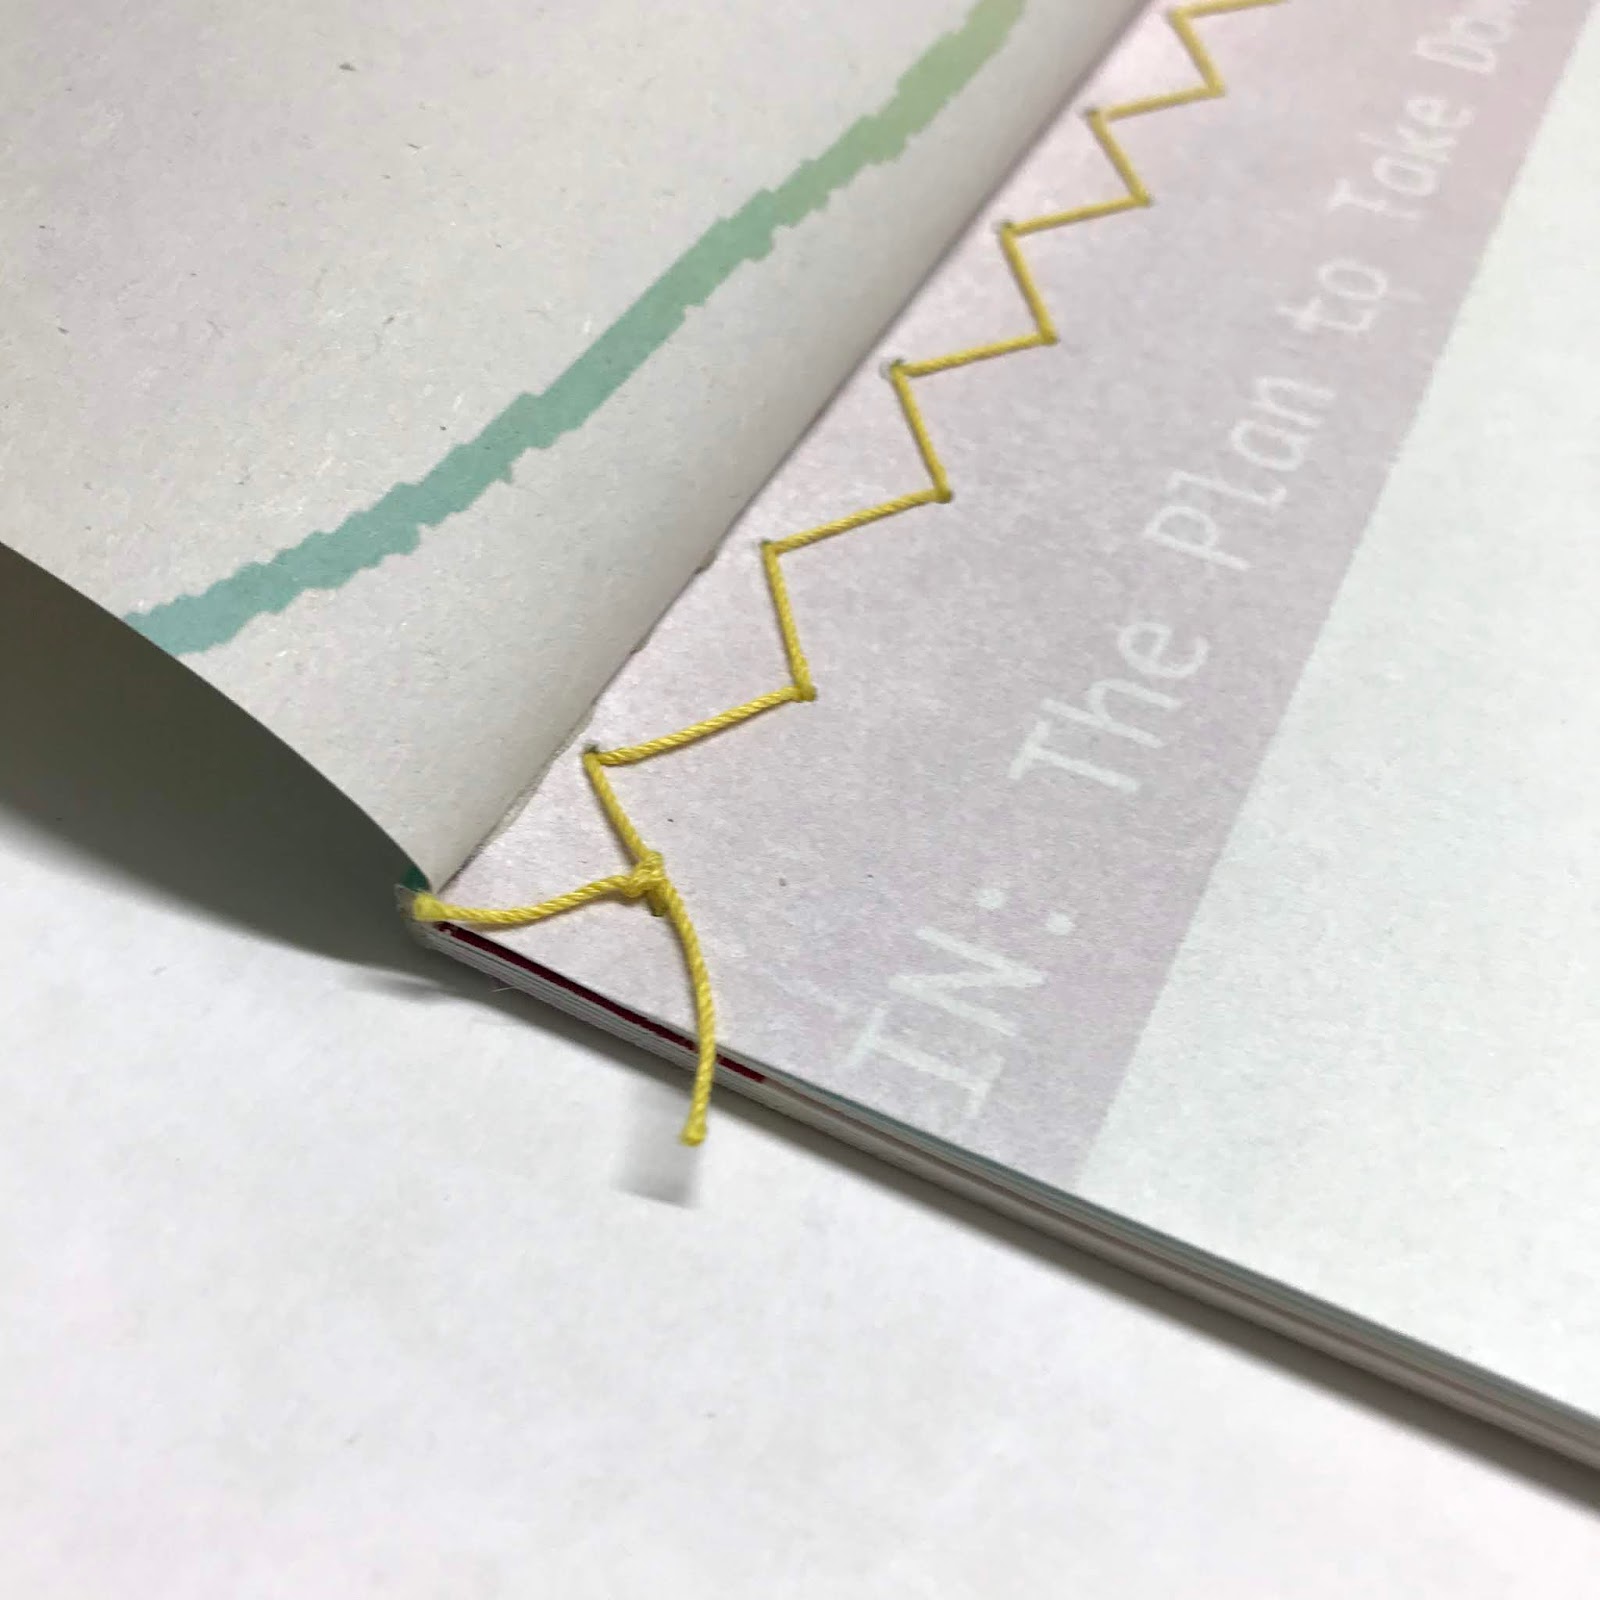
This prototype tests a stab stitch that creates a zig zag. This is to replicate the hair that Ed has. I used yellow thread for this stitch as yellow it used in the cover. The stitch is highly successful in that you cn see every page well and it holds the book together effectively. The stitch looks professional and appropriate for the book. The colour in the pages aren't ver visible which could be improved by making the rectangles wider or the stitch smaller. The front and back cover doesn't have the colour block which could be improved by having the a pink rectangle then the title rectangle moved to the other side.


This prototype tests size and format. I shoed Jake the different binds and we agreed the zig zag stab stitch works best and both thought that the book looks better printed larger.
As I decided to do the zig zag stab stitch I fixed the problems with the colour areas as well as the front and back cover.


This prototype has the book stab stitched with the dust jacket. The dust jacket is not attached so the user can remove it of keep it on, however due to scale the fold of the dust jacket leaves little to hold onto the front cover, making this ineffective and unprofessional looking.


This prototype uses the stab stitch and the dust jacket is perfect bound on. This rectifies the issue of the dust jacket stay around the book, however it hides the stitch.


This could be improved by stitching the dust jacket into the book at the back so that the stitch is on shown and the dust jacket stays attached.
No comments:
Post a Comment